I recently got my hands on a copy of the PSKiss Skin & Scenery Color profile and preset pack, and while I’m not much of a preset kinda guy (aside from a few home-cooked ones and a small handful of black & white presets), I was impressed enough with the camera profiles that I figured I’d talk about it some.
Camera Profiles: The Forgotten Adjustment
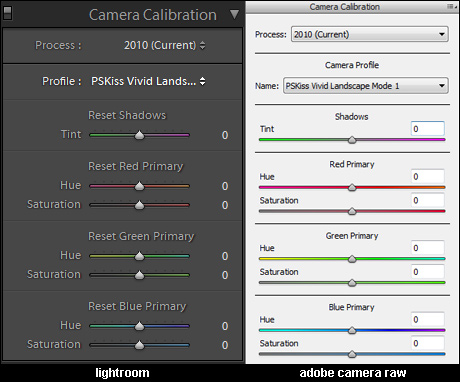 Of all the Develop settings to be found in Lightroom and Adobe Camera Raw, Camera Profiles are probably the least-used and the most-underrated, though by no fault of their own. Not unlike the Chinese restaurant that sets up shop beside a Veterinary Clinic at the strip mall, it’s more a victim of bad location than anything else. If anything, Camera Profiles should be at the top of the list of settings (not the bottom), since it’s ideally the very first step when processing.
Camera Profiles are, simply put, files that affect how your computer interprets the colors captured in your RAW image. Since they capture the unprocessed (raw) data that the camera sees (as opposed to to JPGs and TIFFs, which are processed in-camera), RAW files rely on you and your computer to process them. Switching profiles changes how the computer interprets the data. This is important to remember: Camera Profiles don’t actually modify the image, they just change how the computer “sees” it.
The other thing to bear in mind is that profiles are camera-specific, since each camera sees the world differently. The names for the profiles that come with Lightroom and ACR will also be different, as they’re named to sync up with the proprietary RAW processing software that come with the cameras (incidentally, the images in this article were shot with a Nikon d700).
Finally, never feel like you have to use a camera profile. Truth be told, more often than not I don’t. I’ll cycle through them and often decide I actually prefer the default profile over the rest. As this is just the starting point for my work, it’s a perfectly valid decision.
Sealed with a PSKiss
The other reason I tend to not use the profiles included with Lightroom and ACR is because, well, I’m just not that keen on them. I find the portrait profile flattens out skin tones a bit much, and the “vivid” profiles are too vivid, blowing out colors so much that I often have to crank down the Saturation and Vibrance. I’ll still give them a look when starting work on an image, but I usually find I prefer the middle-of-the-road-ness of the Adobe Standard profile.
At least, I used to.
After playing with the PSKiss Camera Profiles with just a few of my older shots, I can already see them becoming a staple of my workflow. To be sure, there are a few profiles in the mix I don’t see myself using very often—the Cool Bright Up and Vintage profiles are a little one-note, and I don’t think I’d ever use the Velvia Touch profile on people ever—but there are also a few winners in there that make me want to go back and apply them en masse to my older photos. I’m especially in love with the Powered Skin & Lips and the Dark Skin profiles for women and men, respectively, as well as the Velvia Touch profile for landscapes.
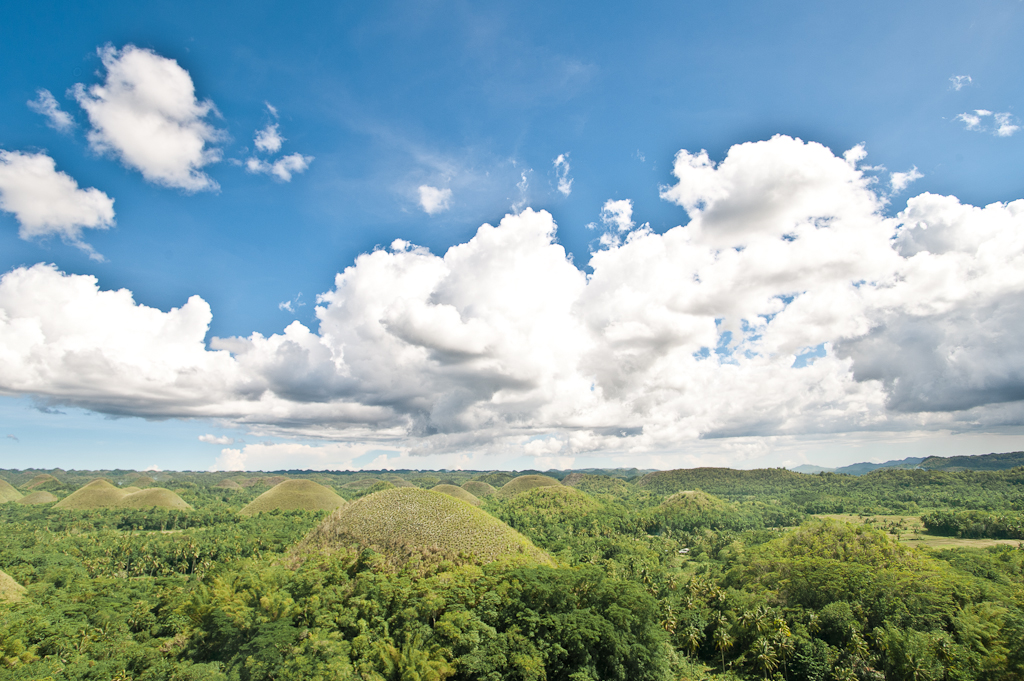
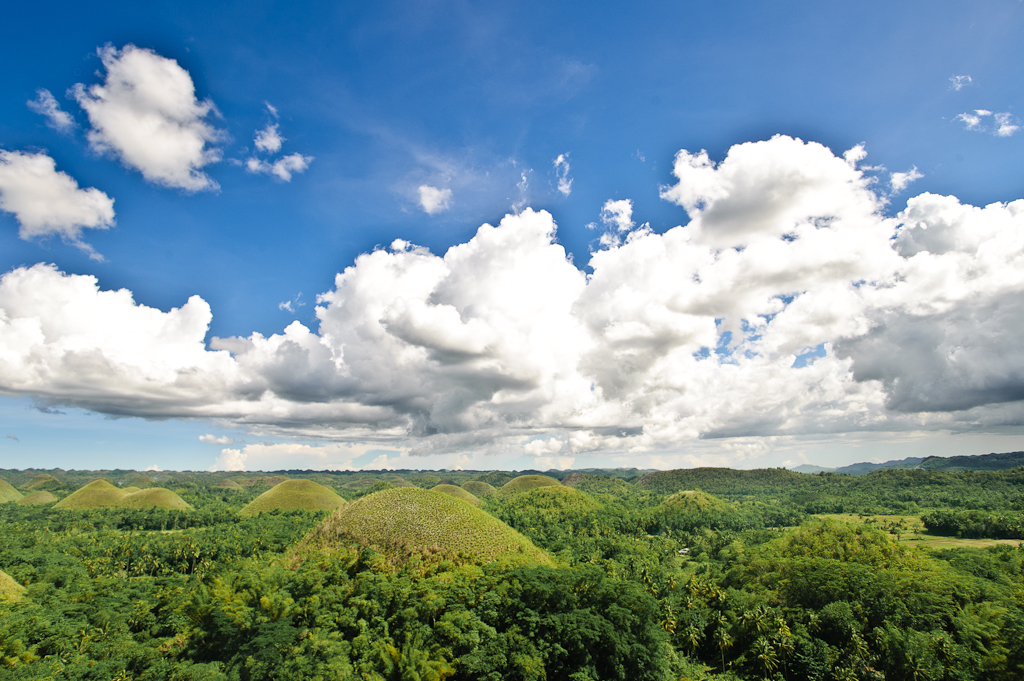
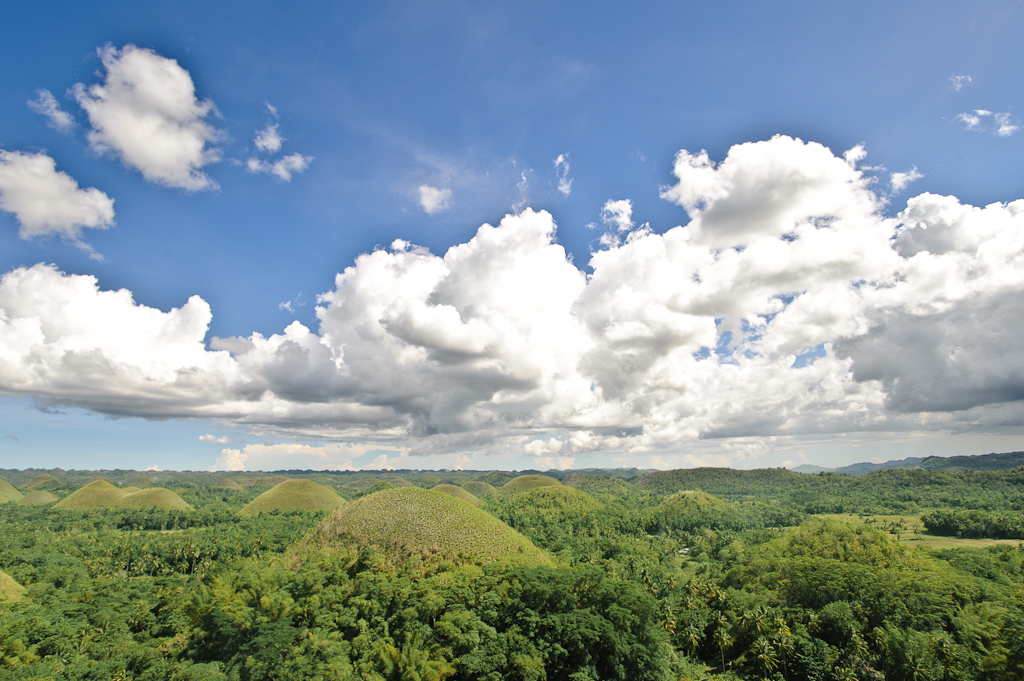
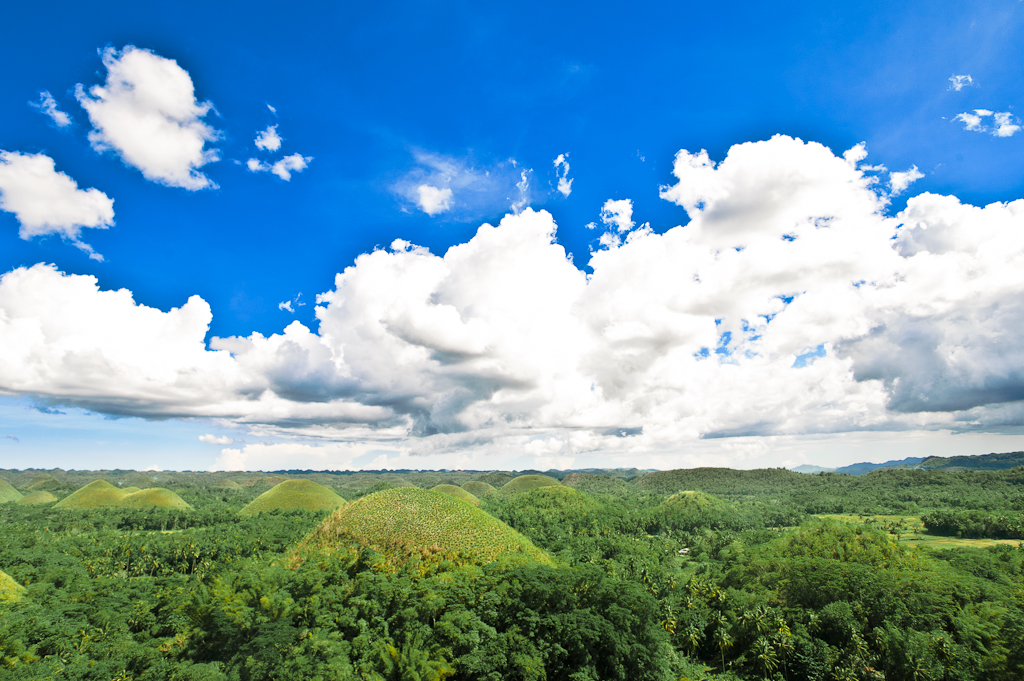
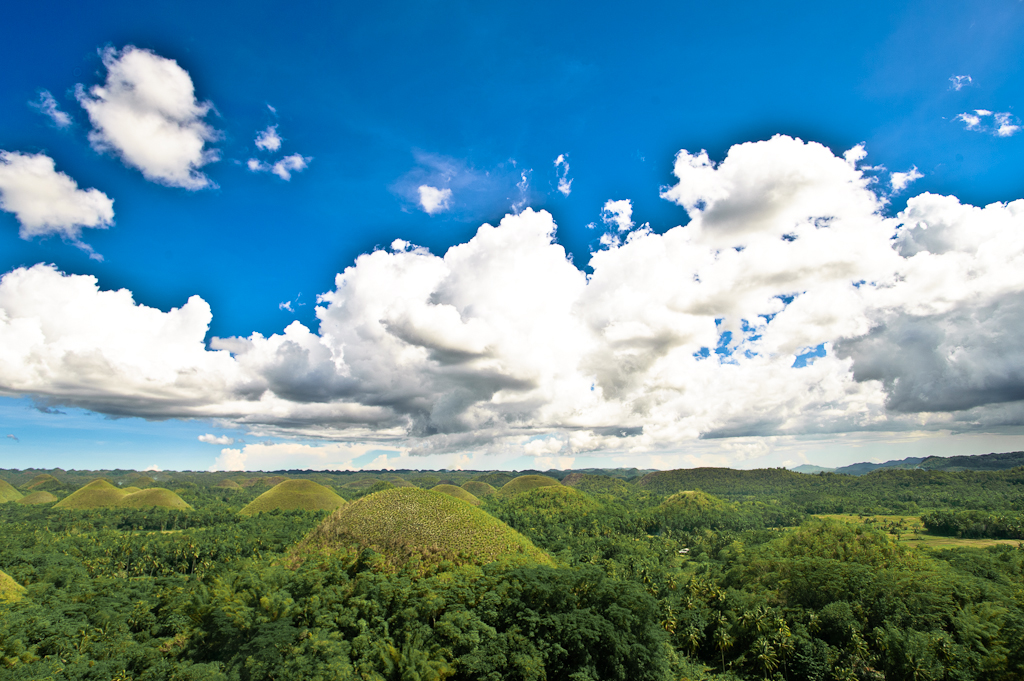
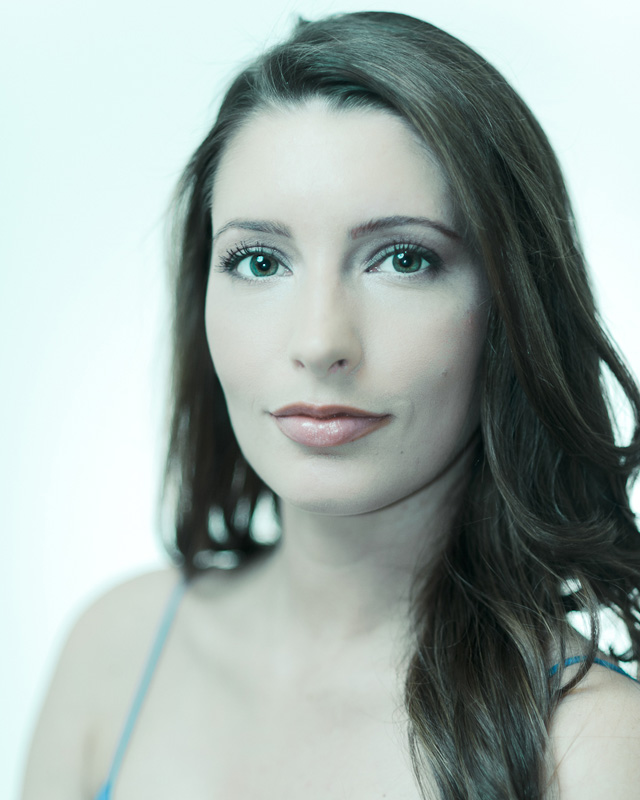
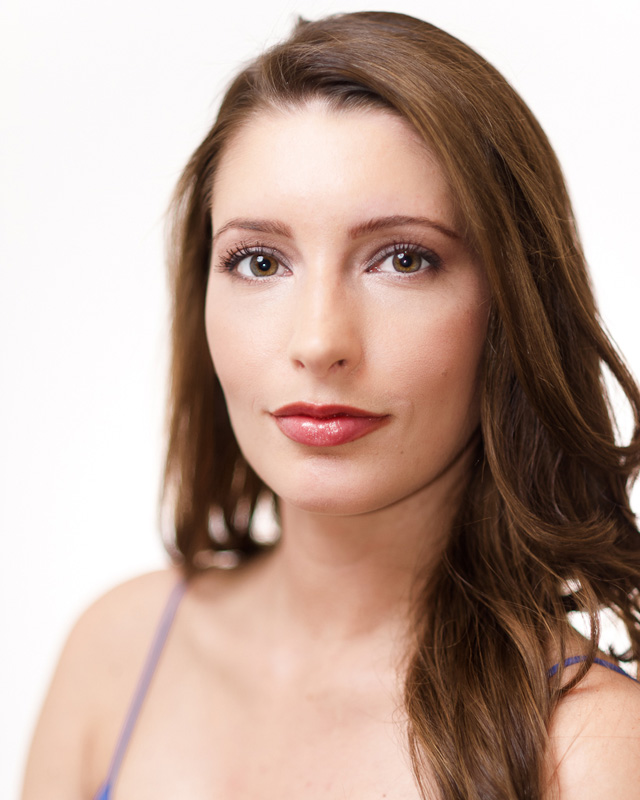
Seeing is believing, of course, so here are some sample images whose only differences are their camera profiles. Note: the “Camera” profiles (Camera Standard, Camera Landscape, etc) are profiles that come with Lightroom and Adobe Camera Raw. And in case you are wondering why there are eight portrait samples but only six landscapes, it’s because some of the profiles are better for certain photos over others (the Velvia Touch profile isn’t even really intended for portraits but I figured I’d toss it in there anyway).
(Protip: Click the first one and then use the Arrow Keys on your keyboard to move cycle through the rest).
Sample Photos
Landscapes

Portraits


Side-by-Sides

Impressions
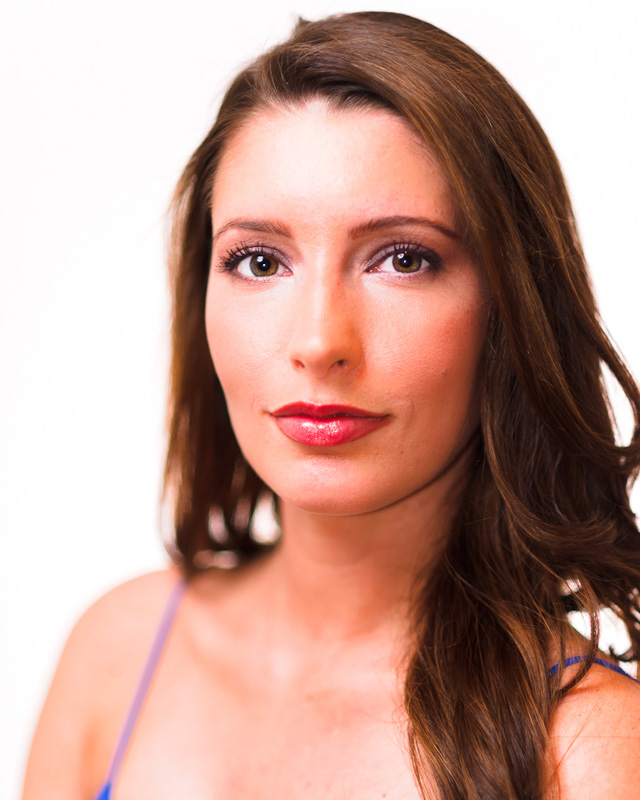
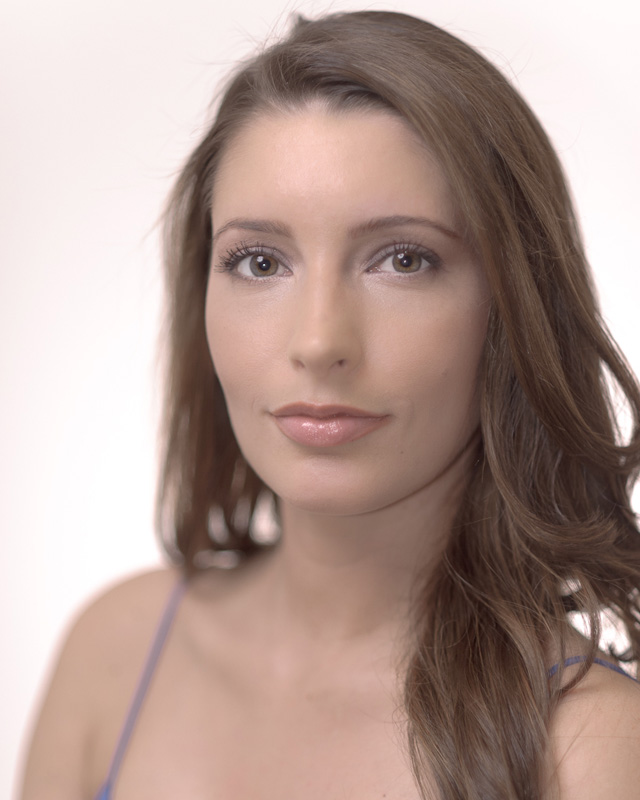
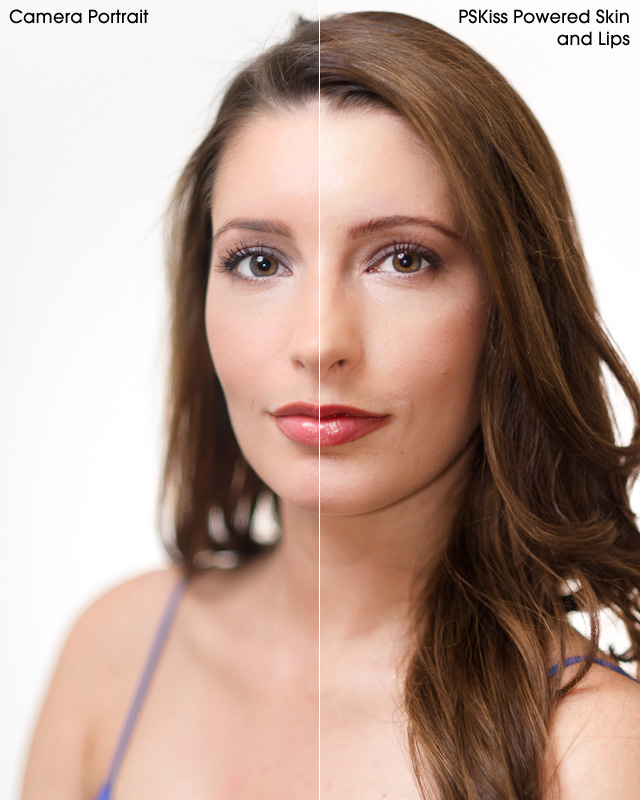
My favorite camera profile, by a wide margin, is the Powered Skin & Lips profile. I photograph a lot of women and getting good, accurate skin tones is very important. The profile gives photos a healthy, natural-looking skin tone while bringing out the reds in lips for extra oomph. Seeing it side-by-side with Adobe’s built-in Camera Portrait profile just makes the latter look flat and dull by comparison. Some might argue that it helps minimize glare, but I like to see a little life in my skin tones. I’m also a fan of the Dark Skin profile for men, but sometimes it gives a little too much edge to the photo so I might not always use it, like I would Skin & Lips.
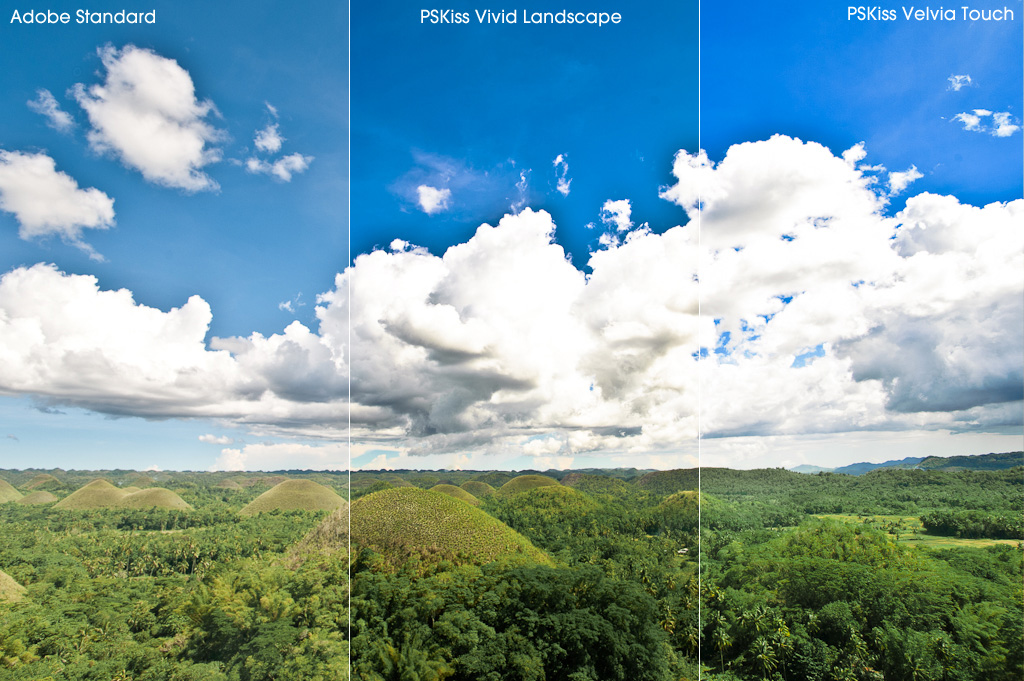
The other profiles, while good, didn’t make that big an impression on me. I can’t see myself using the Vintage or Cool Bright Up profiles very often, as they have more specific purposes. Likewise, I’m not much of a landscape photographer so I think I won’t be getting much mileage out of those, but for the handful of landscape shots I take while on vacation or out traveling, I can see myself putting the Velvia and Vivid Landscape profiles to use. Likewise, just because I don’t see myself using the other profiles as frequently as the first two, I’m sure I’ll be glad I have them in my arsenal.
Wrap-Up
So at the end of the day, after photos have been scrutinized and skin tones compared and skies inspected, the question remains: is it worth it?
Ultimately, this is a decision you have to make for yourself. When it comes to photography, Color is a Very Big Topic™. Libraries of books have been written on the subject by people far smarter than any of us. Some photographers invest thousands of dollars in specialized monitors and printers (and color calibrators for both), all to ensure better-than-perfect tones and hues in their images. Others just use what they’ve got and say “Screw it” because the photos are going online and will ultimately be viewed on uncalibrated monitors anyway.
Myself, I’m somewhere in the middle. I’ve got a higher-end-but-affordable monitor, a decent color calibrator, and the general philosophy that even though the color you’re seeing isn’t the color I saw, I feel better knowing it at least looks right on my end. And for me, it’s worth the twenty bucks. Even though I’ll probably never use half of the camera profiles, the profiles I will use I’ll use so often that they’re very much worth the price.
And don’t forget, the pack comes with 24 Presets that I haven’t even gone into. These presets can be used with Lightroom, Photoshop, or Photoshop Elements, which is nothing to sniff at.
All said, while the “list” price of $30 might give me pause, you can buy the pack off the site for a “reduced” price of twenty bones, and for my needs it’s worth every penny.
Great post mike… #30 is still quite a good deal IMO…