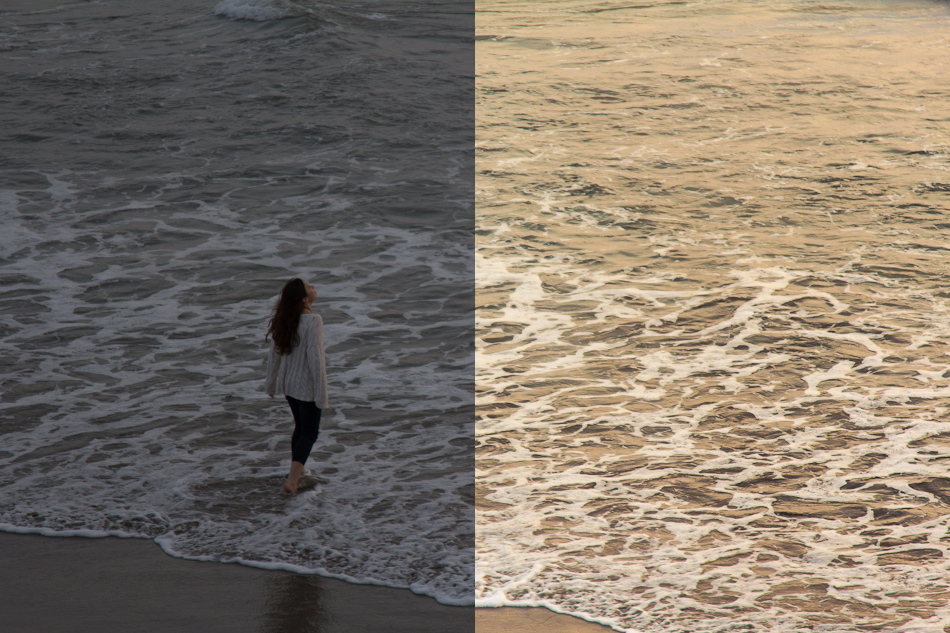
After a few friends had asked me about my post-processing methods and techniques, I decided to cook up a little “This is how I do it” video that would walk them through my typical post-processing session. The idea quickly snowballed, and next thing I know, I’m starting what I hope will become a weekly video series.
Welcome, then, to the first “episode” of O.P.P. (Other People’s Processing).
Every week, I will take a user-submitted RAW file and run it through my typical Lightroom/Photoshop process and narrate as I go. The wonderful thing about post-production is that there is really no right way or wrong way to do it. Some techniques might yield better-looking results, but that doesn’t necessarily mean any other way is wrong (or that the prettier way is right). Ultimately it’s your image and it’s your vision.
That being said, every now and then we have trouble getting what’s on the screen to quite match what’s in our head, and more often than not it’s simply because we couldn’t figure out how to get Photoshop to do what we wanted it to do. I’ve always been a huge fan of watching people as they work because I always pick up at least a trick or two, and I hope that this video (and those to come) prove useful to you in the same way.
Finally, as an aside, education is very much a two-way street; if you have any tips, tricks, or suggestions on how I could done better, please don’t hesitate to share it in the comments below.
If you would like to submit your own image to O.P.P. you can do so here.

Nice Dude!
Will definitely be following this,
Yaeh, you know me! This is great. I needed an introduction to lightroom. Just started to mess around with it.
This is really well presented and informative. I agree the with comment on r/photography that you should make the original RAW file available when possible, to let followers take a crack at it. You’ve gained a new follower in me!
Thanks! This is awesome!
Your audio levels kept topping out in the recording, might want to look at getting a compressor.
The sad part is, this was my second take. I definitely plan on keeping a better eye on my levels in future recordings. I may also try and find a proper mic rather than rely on the built-in webcam one.
Nice. Usually I just go from top to bottom in LR and don’t jump around as much.
The audio was bugging me a little, hope you can get that fixed for next time.
Here’s my stab at retouching the photo — going for the more blue/yellow feel!
(Go Photosmith 2!)