Last month, Stina asked me for some tips and suggestions on how to make good portraits of her relatives at an upcoming reunion (I say “make” because with a portrait you’re not just taking the picture, you’re directing the whole thing). She had asked for specific pointers so, naturally, I replied with general rhetoric (because I’m a helpful one, I am). I did, however, promise to share a few of the tricks I keep up my sleeve, so here they are.
Standard Disclaimer: More advanced photographers may well read these and think them incredibly simple or obvious or useless or whatever. Perhaps. Individual mileage may vary, these are just a few tools I’ve picked up over the years that work for me and help me get the most out of my subjects.
“Check your lights.”
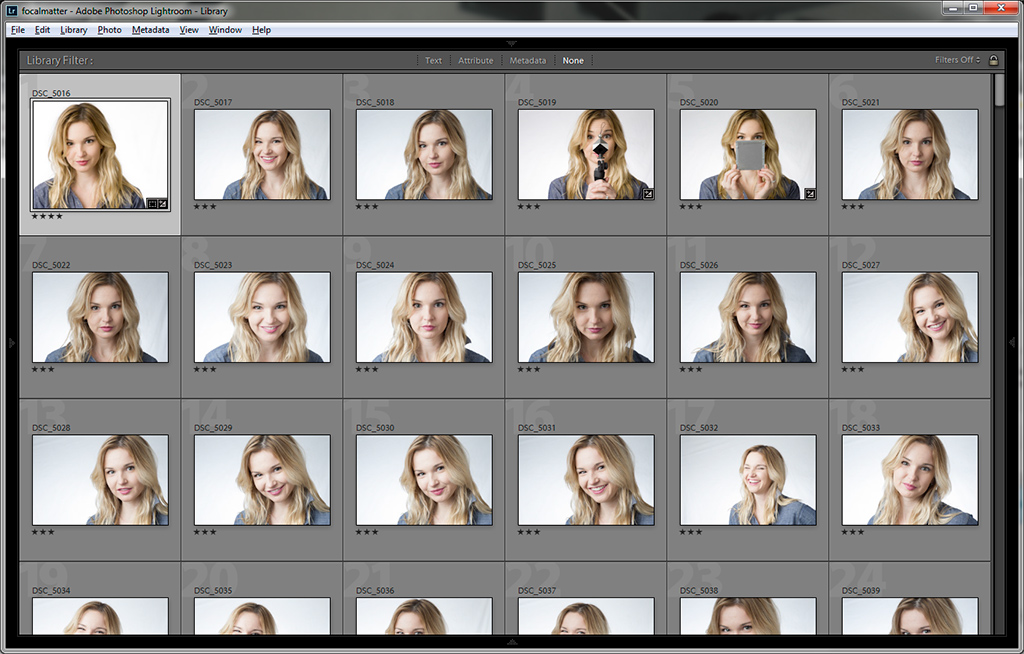
 You’ll wanna use this trick sparingly, but if done right it can yield some great shots, especially with people who are uncomfortable in front of the camera. While we’re nowhere near as bad as Chandler, the awareness of the camera does have an ability to affect our poses and expressions. Call it Schrödinger Camera, for lack of a better term; the act of observation influences the thing being observed. As soon as you start photographing your subject, they’ll switch “on” and if they’re not an experienced model, their “on” poses and expressions will often look more stiff than their relaxed ones.
To counter this, I’ll sometimes take a few “test shots” of my subject, claiming I’m just checking my light levels. This works best at the start of a shoot, but you can pull it off in the middle, too. Just furrow your brow, look at the LCD, mumble to yourself, and then say something like “Sorry, just need to double-check my light level. Don’t worry about posing or anything, but look at me for a second so I can make sure I’m getting good lightfall on your face.” and fire off a few frames as you fiddle with the buttons and dials of your camera.
The truth, of course, is that you had your lighting figured out before your subject even sat down (you did have it sorted, didn’t you?). But by telling them that these photos are effectively “off the record,” they relax and open up a lot more. The beauty here is that most people won’t think twice about your fiddling with your settings. An experienced model might lose faith in you if you do this too much, but you shouldn’t need this trick with experienced models so it all works out.
Send them to their Happy Place
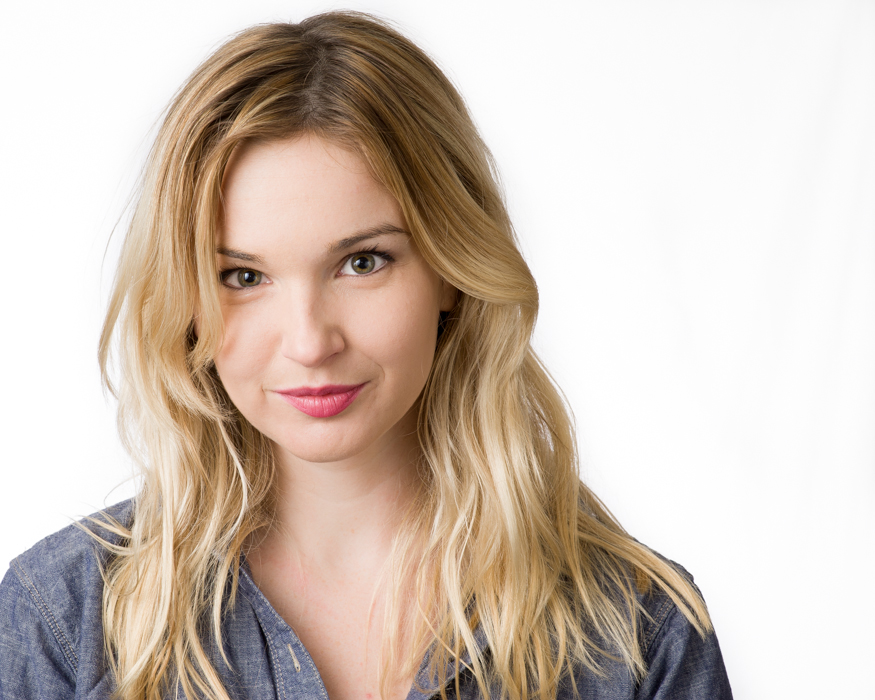
 This is probably the most-used card in my deck. Every now and then I’ll have my subject close their eyes and relax their entire face–smile, cheeks, everything–and go to their Happy Place. I’ll speak in a calm, soothing voice and just let them take a moment to center. Then, at the count of three, I have them open their eyes and give me a little bit of a smile. Then I fire off the shot. (Note: Don’t fire the shot immediately as they open their eyes. Give them a half-second or so for their pupils to adjust and for the contented, peaceful smile to fall on their face.) It might seem a silly practice on the outset, but this trick accomplishes a few things.
- It relaxes the subject’s face. The longer we hold a pose, even a neutral one, the more our facial muscles tense up. Brows furrow, cheeks tighten, jaws clench. By having them zen out for a second, you effectively reboot their face and ease out the tension.
- It helps them forget the camera for a second. This is especially handy for people who might feel a little self-conscious in front of the camera. Closing their eyes takes their mind off the fact that they’ve got a big honking camera lens in their face, and an even bigger honking studio light beside them.
- It gets a more natural smile. No matter how good a smile-faker you are, a force smile will never look as natural as one brought to your face by a 3-second mental vacation to a tranquil beach or mountain cabin.
As you can imagine, this doesn’t really work as well for getting big, open-mouth smiles out of your subjects. For that, you want them to
Get them to show you their Crazy Face

The opposite side of the spectrum, this is a good one to help get people to loosen up and break out those pearly whites. As with the last tip, it helps your subject relax their facial muscles and not look so stiff, but with the added bonus of getting some genuine open-mouth smiles. What I’ll typically do is ask them to make the goofiest face they can come up with, the kind that they’d make to try and get a baby to laugh, or something they’d do in front of a funhouse mirror. I’ll usually make a face or two myself to show them what I mean, and to help them feel less silly on their side of the camera. They’ll usually be a little hesitant or shy at first, but once they get going their inner Jim Carrey will soon take over and they’ll be hamming it up like the best of them. The exercise almost always devolves into laughter, which is the best time to get a good, genuine smile. If you’re shooting in natural light, just fire off as many as you can while they’re cracking up. If you’re shooting with lights, you’ll need to time your shots well so keep an eye out for that really great smile.
So there you have it, some of my tried-and-true “tricks” to getting the most out of my subjects. Looks closely and you’ll see there’s one simple, common thread to all of it: get your subject comfortable.
We’re all amazing-looking in one way or another, but that only shines through when we’re not self-consciously retreating into our shells. No matter how you get your subject to relax and open up, once you do you’ll see a marked improvement in the quality of their photos.
Happy shooting! Let me know how it goes!